


There is nothing more maddening than suddenly discovering your AC has conked out. You are getting hotter by the minute and you don’t know how to get your AC to work!
The most common reasons an AC unit won’t turn on are a tripped circuit breaker, a malfunctioning thermostat, condensate on the coils or pump, electrical connection problems or issues with the dual run capacitor.
In this post, we will guide you step by step through AC troubleshooting 101 so you can get your AC working again ASAP! Please call us at Payne’s Heating and Air Conditioning if you have any questions about your AC Unit: (850) 831-4599!
1. Head out to check the circuit breaker box.
The first step you want to take is to take a walk over to your electrical panel. Inside the panel you will see a series of switches that route electrical current to various parts of your home.
Surges in electrical power will “trip” the affected switch and cut power to any appliances in that area.
What you want to do is just look at the switches and see if one has moved out of position relative to the others. Flip that switch all the way off and then back on again and see if that restores power to your AC and/or AC/thermostat.
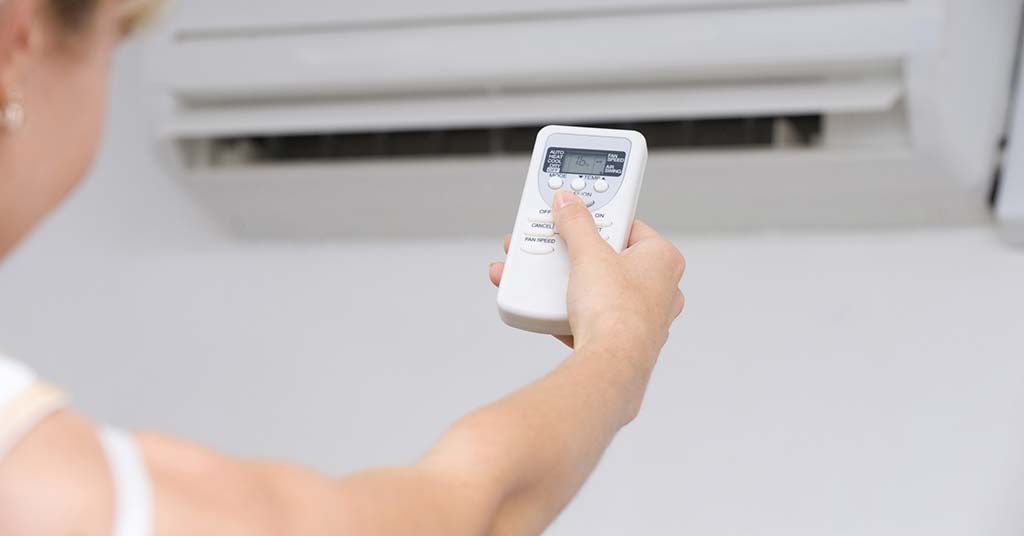
2. Put your thermostat through some tests.
The thermostat is basically the “brains” of your AC unit. So if the thermostat isn’t working, chances are good your AC won’t be working either.
The first thing to check is to make sure your thermostat is getting power. This may mean checking the circuit breaker box or changing the batteries.
The next step is to test your thermostat functions. Is the display readout working? Can you use the buttons to change the settings? Does it retain those settings? Does it turn on and off again?
One easy way to test if your thermostat is malfunctioning is to turn its breaker circuit to OFF, unthread the red and green wires from their couplings and twist the ends together. Then turn the breaker circuit back ON.
Does your AC start right up? Then it isn’t a problem with the AC. It is the thermostat that needs service or replacement.
3. Unclog the AC drainage line.
Yet another all-too-common reason your AC might not turn on can be found in the condensate (drain) line. Many homeowners don’t realize that the drain line can clog because this component of your AC can be very hard to get to and examine.
Here is what to do to check this. First, switch the AC breaker circuit to OFF. Locate the drainage pan beneath your AC unit. Is it full of water? This is your first clue all is not well with the drainage line.
Suction out that water first. Then remove the drainage line itself and unclog it (a hand vacuum typically works well for this, but a strong water stream or a can of compressed air can also work well).
Finally, reconnect everything. Flip the circuit breaker switch to ON. Add back a cup or so of water to the drain pan. Watch to see if the condensation pump activates to pump out that moisture. If it does, you should be good to go.
4. Swap out the dual run capacitor.
If this sounds like a great line from your favorite “Star Trek” episode, never fear. It isn’t as hard as it sounds!
In fact, the dual run capacitor is a simple little part with one job to do: to simultaneously power the fan and the compressor inside your AC unit.
So when this part fails, your AC appears to fail as well. You may not even realize all you need is a new capacitor and your AC will get right back to work again.
These are the steps to take to remove the old part and install a new one.
1. Switch your AC and thermostat circuit breaker(s) to OFF.
2. Open up the AC access panel (screwdriver or nut driver required).
3. Put the screws in a safe spot.
4. Find the dual run capacitor (look for a cylinder-shaped part labeled COM, HERM or FAN that is bolted in with three colorful wires running from it).
5. Carefully unscrew the bolts and disconnect the wires, making a note of which wire goes where, then remove the capacitor.
6. On the side of the capacitor you will see a rating note that starts with “UF.” Take a picture of that and bring it with you to buy your new capacitor (alternately, take the whole part with you to the store). Make sure the new part has the same UF rating.
7. Mount the new capacitor and reattach the wires.
8. Switch the circuit breakers back on and wait for your AC unit to power up (this may take 15+ minutes).